UPDATE – Since writing this original post I made a few changes to the rig which you can read about here
It’s been 6 years since I built my last PC Gaming rig. It was time to build a new one so project open case gaming rig 2016 was born. My son is now 5 years old and I wanted him to be involved in an attempt to spark an interest in building PC’s.
For this rig I opted for a wall mounted open style case to enable easy viewing of all the components. It also seems a real shame to hide away all those expensive components behind a closed case. The side window cases do give a nice view but the Thermaltake Core P5 provides some unique viewing angles. Having a wall mounted PC also solves a problem for me with space under my desk. I can now stretch my legs out under the desk as theres no PC in the way 🙂
Usually when I build PC’s I’ll go with a mid range spec with a view to upgrade components at some point during 5 year or so ownership of the build. This time I decided to go all out from day one. I guess time will tell if I’ll still need a GPU update in the next couple of years. This rig is not top of the range but its pretty close.
The build spec
Corsair 750W CP Bronze
Corsair DDR4 3000 16GB
Thermaltake Core P5 Case
Samsung 950 M.2 PCIe NVMe 512GB
Cooler Master V8 V8VC-16PR-R CPU Cooler
Asus Maximus VIII Hero Motherboard
Intel Core i7 6700K s1151 4.0G
MSI GTX1080 GAMING X 8GB
120mm Corsair HD120 RGB 3Pack
120mm Corsair HD120 RGB Fan
Windows 10 Pro 64
Putting it all together
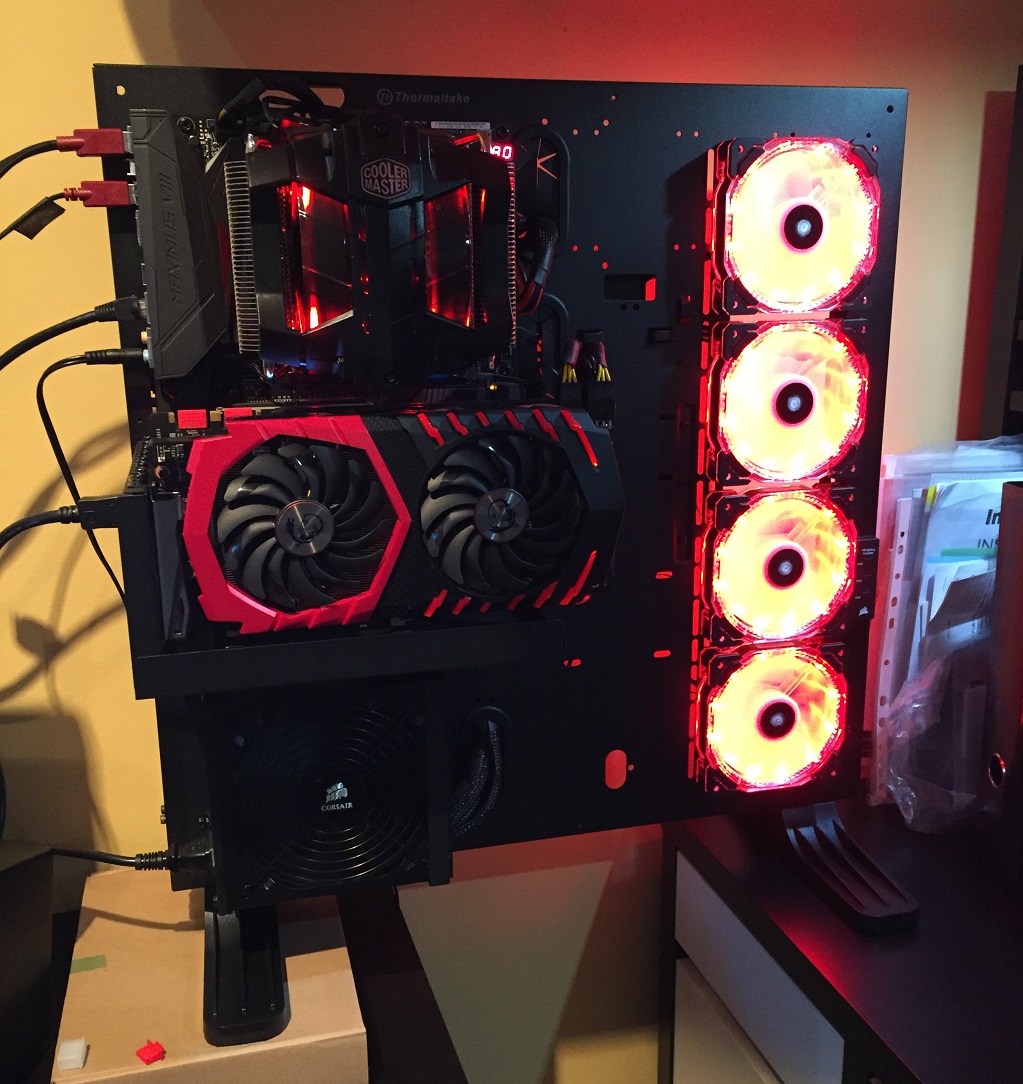
I only build a new PC every 5 – 7 years so I wanted to take some time and savor the moment. I spent a few evenings to put it all together neatly. Then you get to that golden moment when your ready to press the power button. Everything appeared to spring to life, lights on the motherboard, GPU and fans, except no display 🙁
Whilst researching the Thermaltake Core P5 prior to the purchase I’d read many stories of people having issues with the PCI-E extender cable provided with the case. I was no exception with my build. I could get past the POST and boot by pressing the reset button 1 -2 times enabling the PC to boot. Even with the PC fully started into windows I didn’t have a comfy feeling that all was well.
I ran some benchmark tests against the GPU which didn’t seem to score too badly and averaging 60FPS I then fired up Battlefield 3 and turned up all the settings to ‘Ultra’. It was pretty much unplayable and a GTX 1080 should not have had issues playing Battlefield 3 with Ultra settings. Something was wrong. That’s the issue with using automated testing. Its not the same as the feedback you get from real people.
Time to rule out that PCI-E extender cable
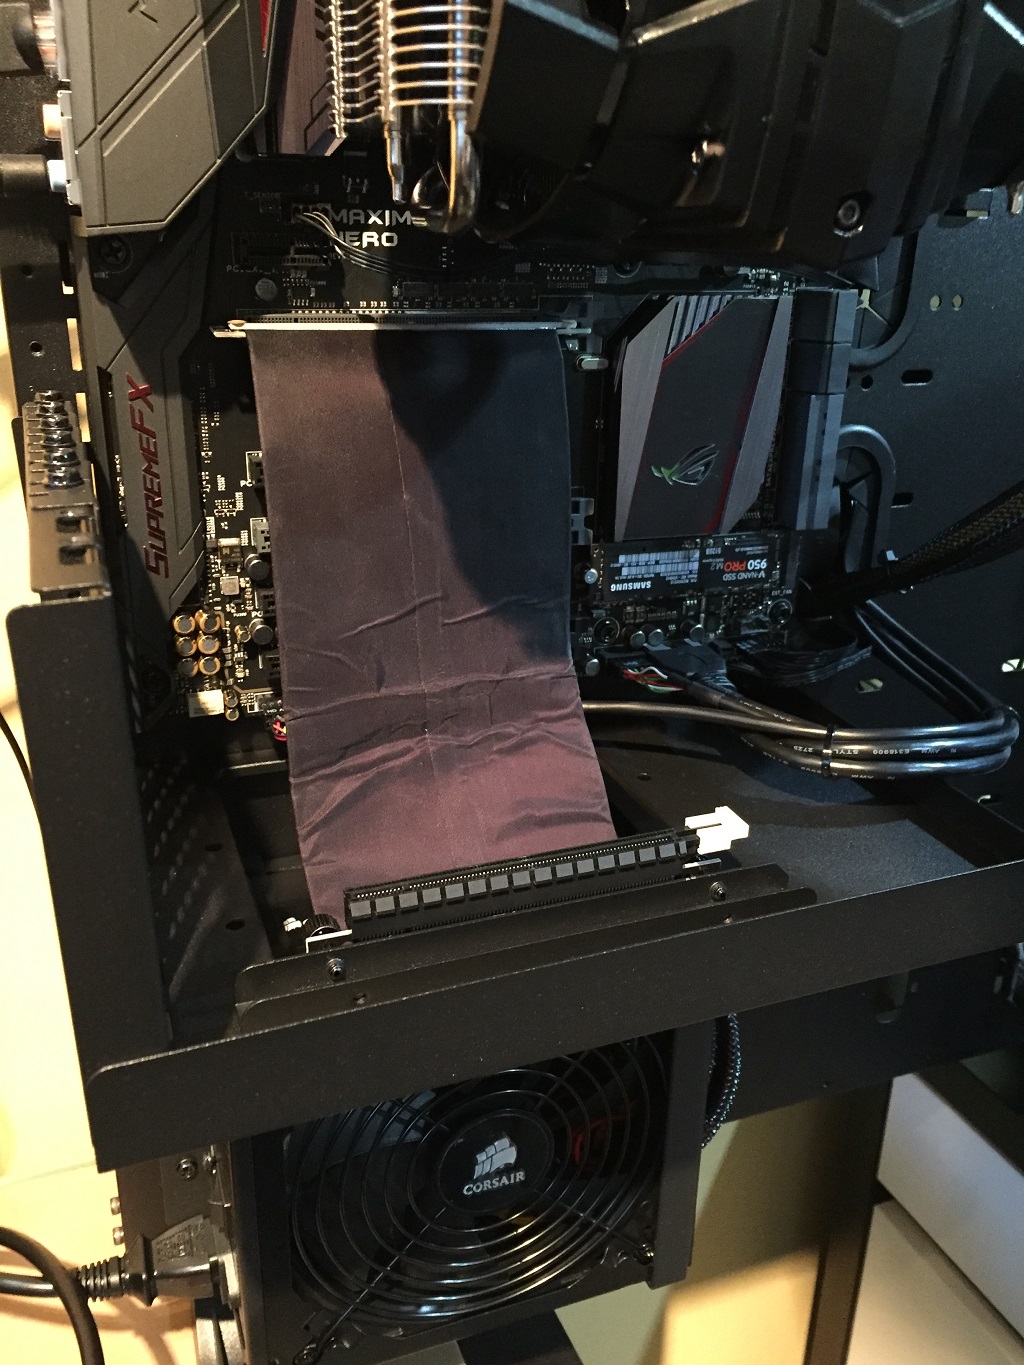
I plugged the GTX 1080 directly into the motherboard. The PC booted first time. I then proceed to shutdown and power the PC up from cold 10 times without a single issue getting past the POST. Battlefield 3 running with ultra settings also played faultlessly.
I was now faced with some options:
- replace the PCI-E extender cable with a replacement from Thermaltake
- Buy a more expensive better quality cable
- Leave the graphics card directly in the motherboard
I design and build large data networks for a living. Experience teaches you that less complexity is better. removing as many single points of failure is also a good thing. One of the reasons I brought the Thermaltake Core P5 was the flexibility to mount the graphics card vertically. I’ll take performance and reliability over aesthetics every time though. My GTX 1080 is staying firmly and directly in the motherboard with no intention to use a riser cable.
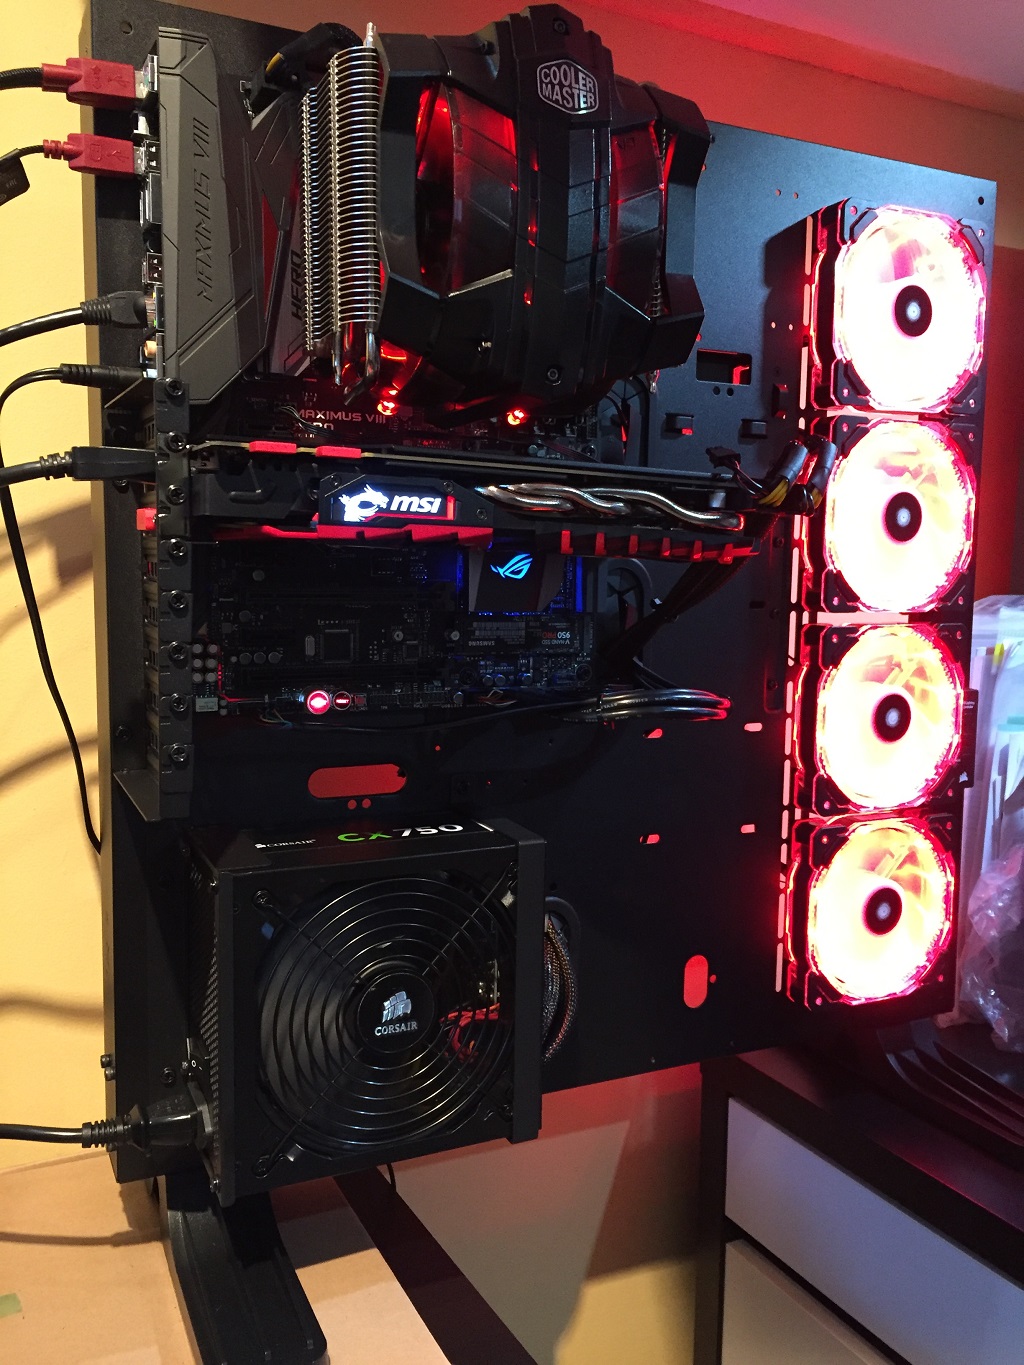
Water coolers beware!
My rig is air cooled so changing the position of the card only took a few minutes. I cant imagine how frustrating this issue would be for people with water cooled systems. They ‘d likely have to drain their systems down to change the position of the card or replace the riser cable. what a nightmare.
The Asus PG348Q 34″ 100Hz G-Sync Curved Monitor With IPS Panel
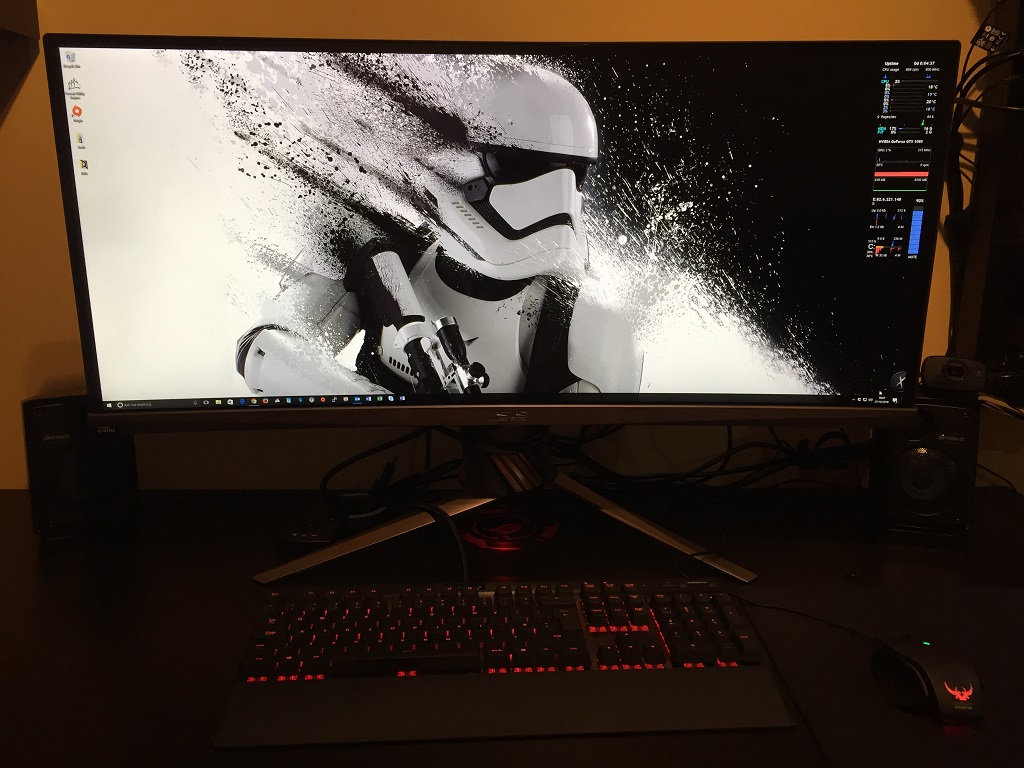
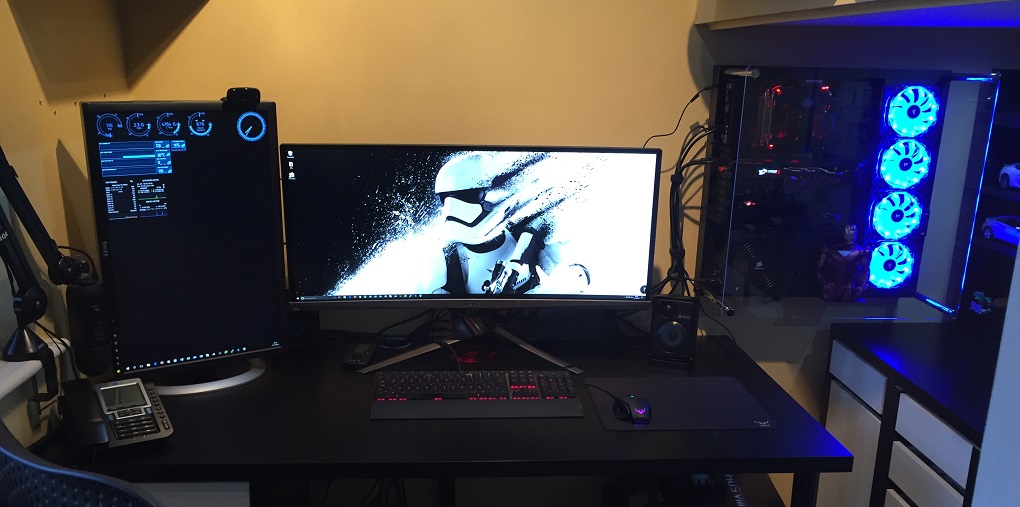
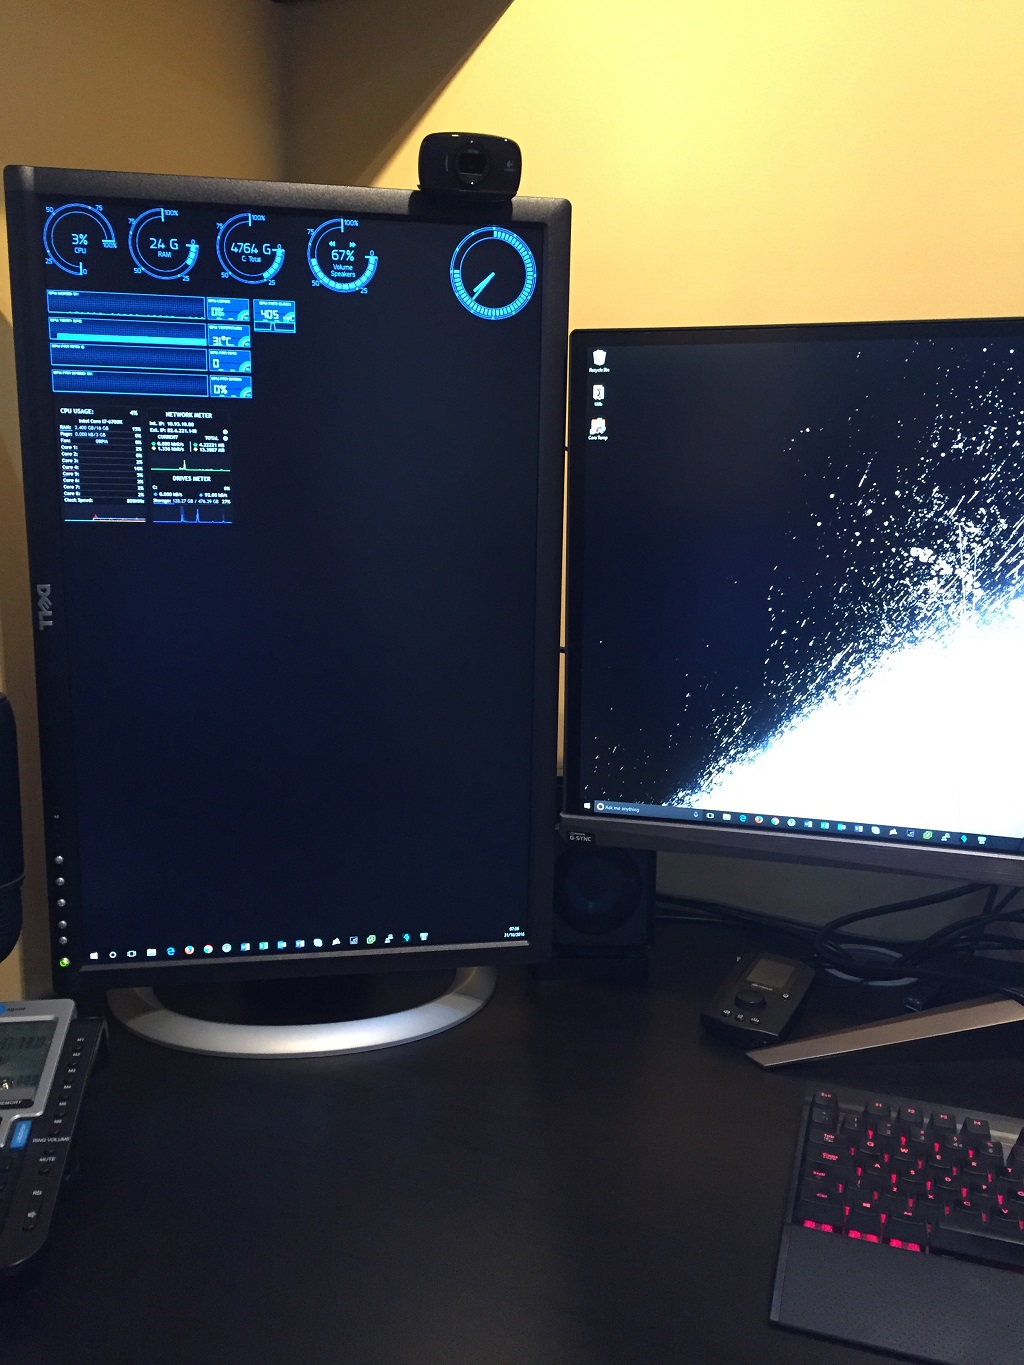
My old setup consisted of a three screens, a 24″ and 2 x 19″ screens. The 24″ was the only screen I used for gaming but the two 19’s gave me more real estate whilst working and studying. I decided to pull the trigger on a 34″ ultra wide Asus PG348Q100HzCurvG-Sync. This monitor is a thing, Ok its not quite 4K resolution but it doesn’t matter. The aspect ratio of 21:9 is near perfect to me for both gaming and workloads etc. I kept the 24″ Dell putting it into portrait mode.
Build complete – time to start tinkering
I’m a self confessed geek. I love technology and engineering and can not resist the urge to tinker, play and test equipment. I chose the components for this build to enable me to overclock and get the best performance I can. It was a good couple of weeks before I started overclocking. I wanted to get a feel for the stability of the system prior to tweaking any nerd knobs.
Monitor frequency upped to 100Mhz
The Asus supports 100Mhz frequency. Out the box though its set to 60Mhz. To enable 100 Mhz frequency you need to enable the overclocking feature in the menu of the monitor and set the max frequency all the way up to 100Mhz. Reboot the PC then select 100Mhz as the frequency on the display settings for the GP.
RAM Speed upped to 3000Mhz
The default setting for the memory is ‘Auto’ which sets the RAM speed at 2400MHz. A manual change was required to set the RAM to 3000MHz.
CPU overclocked by 600Mhz
The CPU was overclocked by 600Mhz to give me 4.6Ghz. I followed an excellent video tutorial on how to overclock the 6700K.
Some things I’ve learnt since the build
Noise
I was a little concerned about how noisey an open wall mounted PC would be. My previous setup included a Coolermaster Silencio case which even with its sound proofing and the PC was under my desk it was still notable. I’m pleasantly surprised with the new rig though. I have the chassis fans connected to dedicated ports on the motherboard. The ASUS Fan Xpert3 software enables you set profiles and fine tune the speed of the each fan as desired. Under light workloads i.e blogging and working etc the chassis fans spin up very rarely and CPU fan spins up and down over time. The GPU fans only ever spin up whilst gaming. Its very quiet.
Dust
Its early days to see how dusty this new open case setup gets over time. I’m pretty meticulous at keeping things clean and tidy so I’ll likely schedule in a session with a can of air duster as required. I have noticed that the perspex front panel is a dust magnet though and will require regularly wiping down. I’ve found the easiest way to do this is to use one of those magnet cleaners used to clean the glass of fish tanks as it cleans both sides of the perspex panel simultaneously.
Summary
Other than being slightly disappointed with the PCI-E extender cable issue I’m pleased with the overall rig. The PC performs faultlessly in every way. The gaming experience is breathtakingly immense especially with the 34″ curved screen.
I still have a bit of tidying up to do with cables so please don’t judge me on the following pictures 🙂
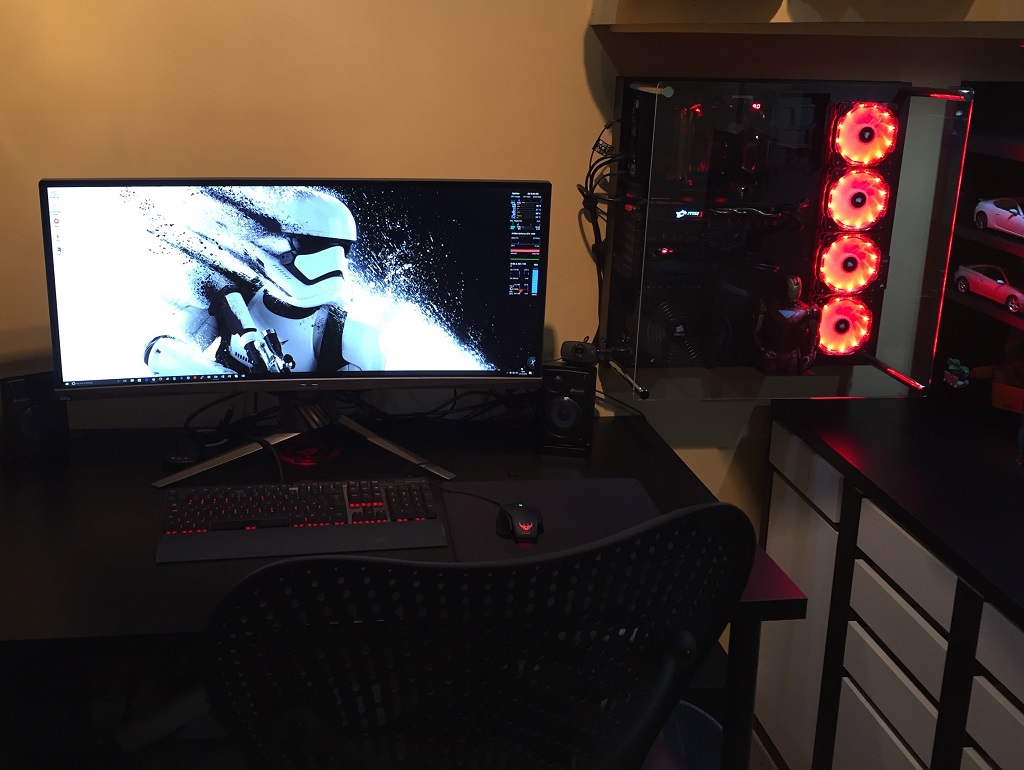
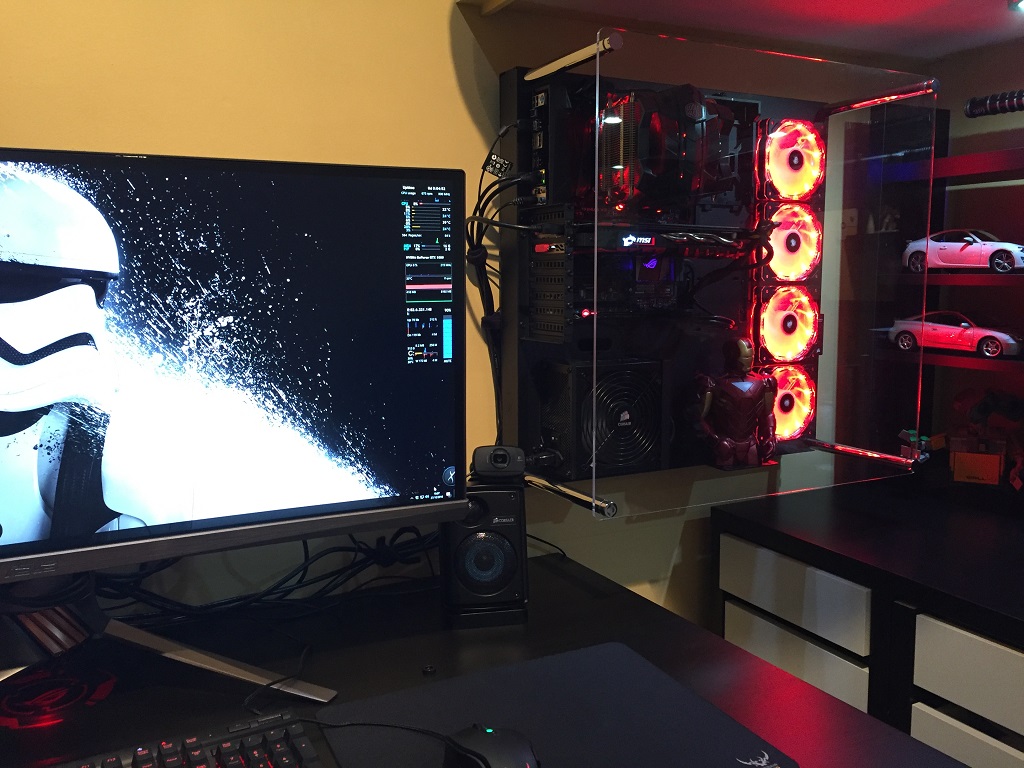
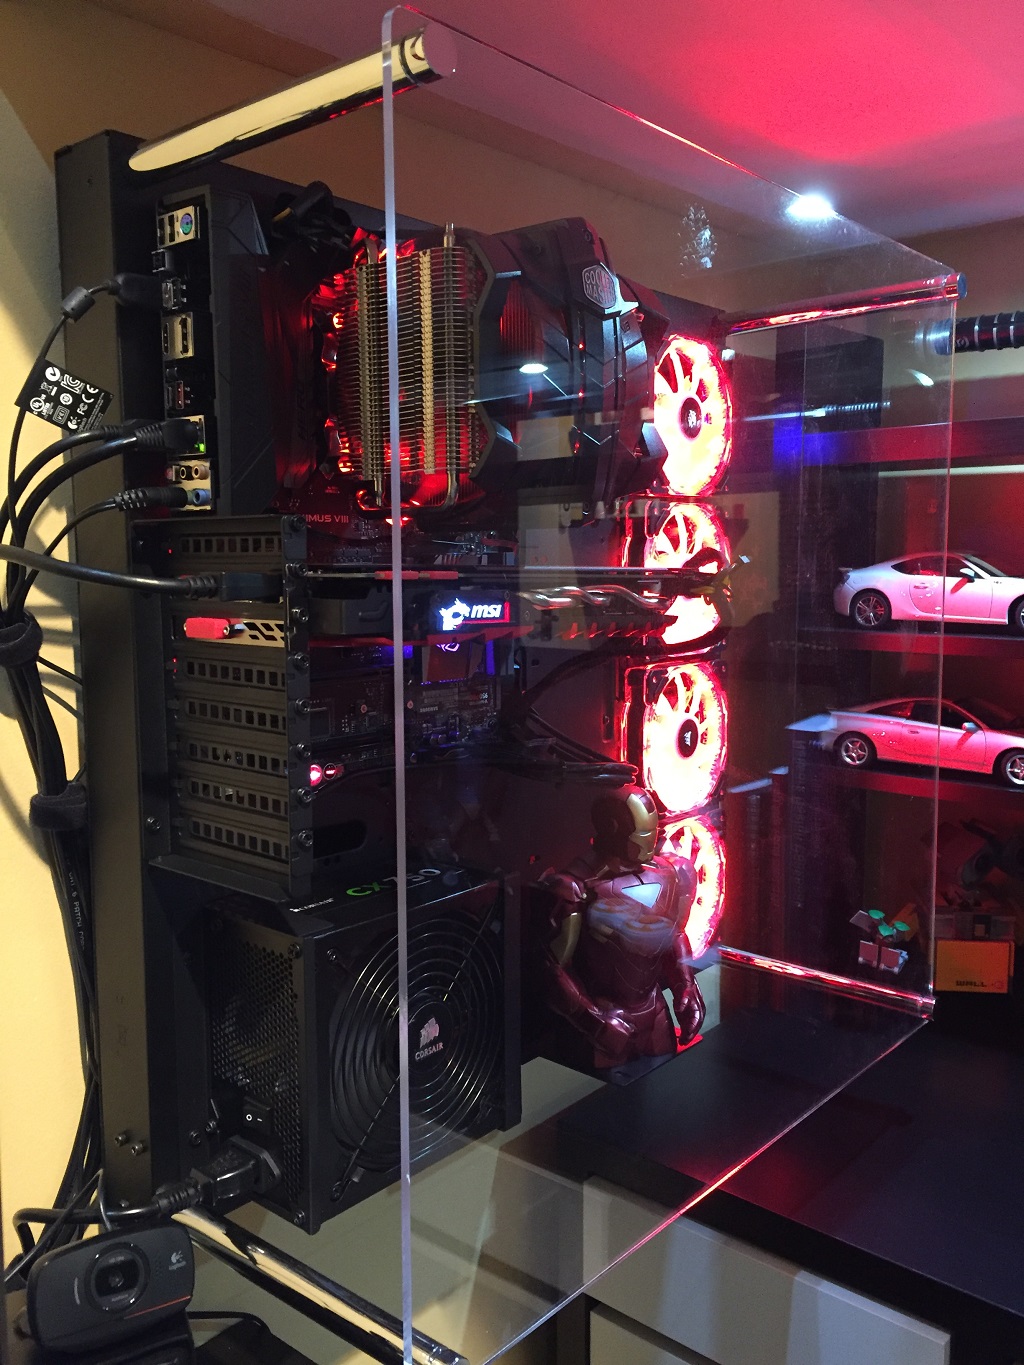
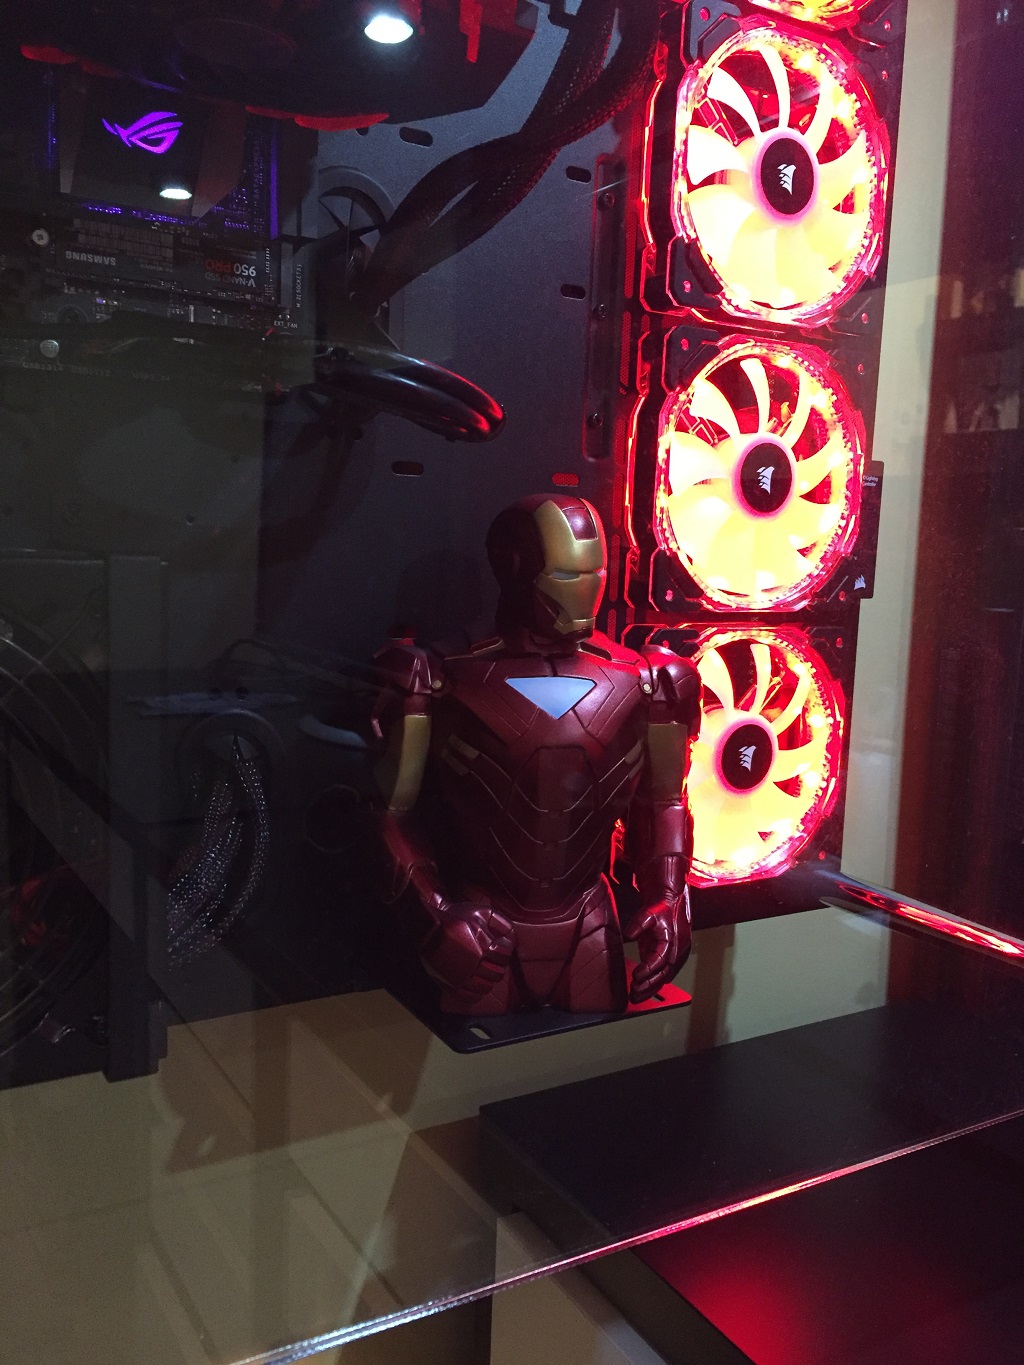
My wife’s Ironman money box fits nicely onto the water cooling reservoir shelf 🙂
